Issuing one ucode
ucode Issue Service issues one ucode when the user presses the button. If you create content on the Internet such as a blog by using the issued ucode, the ucode Search Service retrieves the information associated with the ucode using search engine.
At this step, ucode Information Service can be easily realized by combining QR code (ucodeQR) that stores ucode, mobile phone, and the blog service on the Internet.
Step 1: Issuing a ucode
ucode Issue Service allows anyone to issue a ucode.
Let’s issue a ucode using this service.
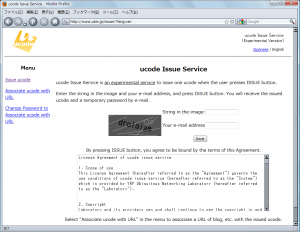
Figure 1: ucode Issue Service
Figure 1 shows the screen of ucode Issue Service.
Enter the string drawn in the bit map on the screen in the text box, and press ISSUE button. If a ucode is issued successfully, the screen shown in Figure 2 will be displayed. In this screen, ucode tag (ucodeQR) image transformed into QR code form that can be read by mobile phone is also created. You can also change the size or print only the label.
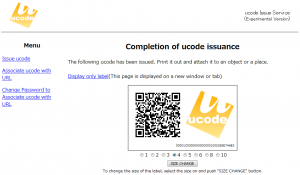
Figure 2: Example of issued ucode
Step 2: Changing the issued ucode to a tag
Next, let’s print the image of the issued ucodeQR image and attach the printed tag to your belongings. Figure 3 shows the example of attaching a ucode tag to a skull model of a Neanderthal man that is one of the novelties in the University Museum, the University of Tokyo. 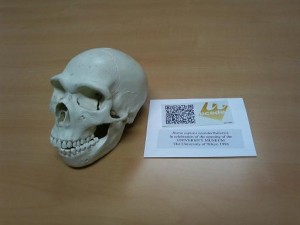
Figure 3: Example of attaching an issued ucode tag to goods
Step 3: Creating a blog to introduce goods
The information to be associated with the issued ucode needs to be created in the form that can be browsed on the website. However, as the information needs to be browsed on mobile phone by reading the QR code, the tool that supports mobile phone should be used. Accordingly, the goo blog is used in this case. Now, include the issued ucode in the blog article. In this example, a line, “ucode: 00001C00000000000001000285E7A6E3” is included in the article text (Figure 4). 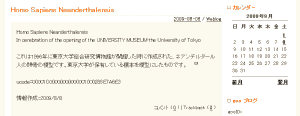
Figure 4: Completed goo blog article
The URL of the completed blog article is: http://blog.goo.ne.jp/nkoshi/e/17d90b8d75a7d394a63ee438c8ea1600.
Step 4: Retrieving information from ucode
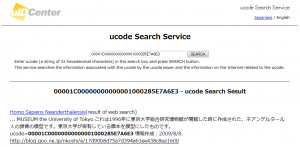
When an article is posted in a blog, a search engine collects the article. As a result, the ucode in the article can be searched as an index. However, it may take several hours before it is registered on the search engine. Once it is registered on the search engine, the ucode and the article are associated by the search engines such as goo and Google. Now, open the ucode search page, enter the ucode in the text box, and press SEARCH button (If this link is clicked, the same result will be produced.) The search result shows the link to the registered blog. (Figure 5)
Step 5: Retrieving information using mobile phone
Read the QR code (ucodeQR) in the printed tag by mobile phone, and retrieve the information. If the ucodeQR of the tag is read by mobile phone, the URL that includes the issued ucode will be displayed. By accessing this URL, in the same manner as Step 4, the link to the registered blog will be displayed. (Figure 6)
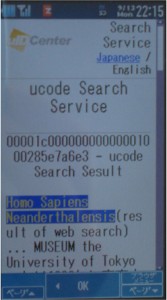
Figure 6: ucode search result (mobile phone)

